
I decided back in the fall that I needed a home office where I could write, plan, research, and create. My husband has an office at home, and there was no way we were going to be able to share, so I decided to pull the trigger and flip one of my spare bedroom walk-in closets!
This project is currently still under construction, but I have been sourcing design elements for months now and have been sharing the steps of the demo & install journey with my Instagram followers. I wanted to document the first phase of the project here and share some of the foundational design elements with my readers.
Demo

First, let’s talk about what was needed for the demo phase.
The closet I chose to make into my mini office was lined with those awful wire shelving units that are hideous at worst and functional at best – those had to go!
The problem with the removal of the shelving units was that they were anchored into the wall through extra pieces of wood that had been glued to the sheet rock.
Drywall Repair
Needless to say, the process of removing those pieces of wood damaged the drywall beyond repair, and it needed to be replaced.

The Drywall repair process took much longer than anticipated. I have never done any work with drywall prior to starting this project so it was quite the learning opportunity! My husband and I took several weeks to research the exact right approach, supplies needed, and the steps we would need to take.
We removed the damaged pieces of drywall with this tool. Following that, we replaced the drywall, mudded, taped, mudded some more, sanded and mudded…you get the picture!
It took 3 applications of drywall mud and very meticulous sanding to get the walls back into working order, but overall, I am VERY pleased with the end result.
Primer & Paint

Next, it was time to apply primer to the walls. Because I am wallpapering, I needed the walls to be clean & to match the background color of my wallpaper (white). I used the Kilz Premium Primer to prime the walls.
After completing the process of priming, I moved on to painting all of the trim in the space and the door. For this, I used Behr One Coat Dynasty paint in “Snowboard” – the finish is Semi-Gloss.
Wallpaper
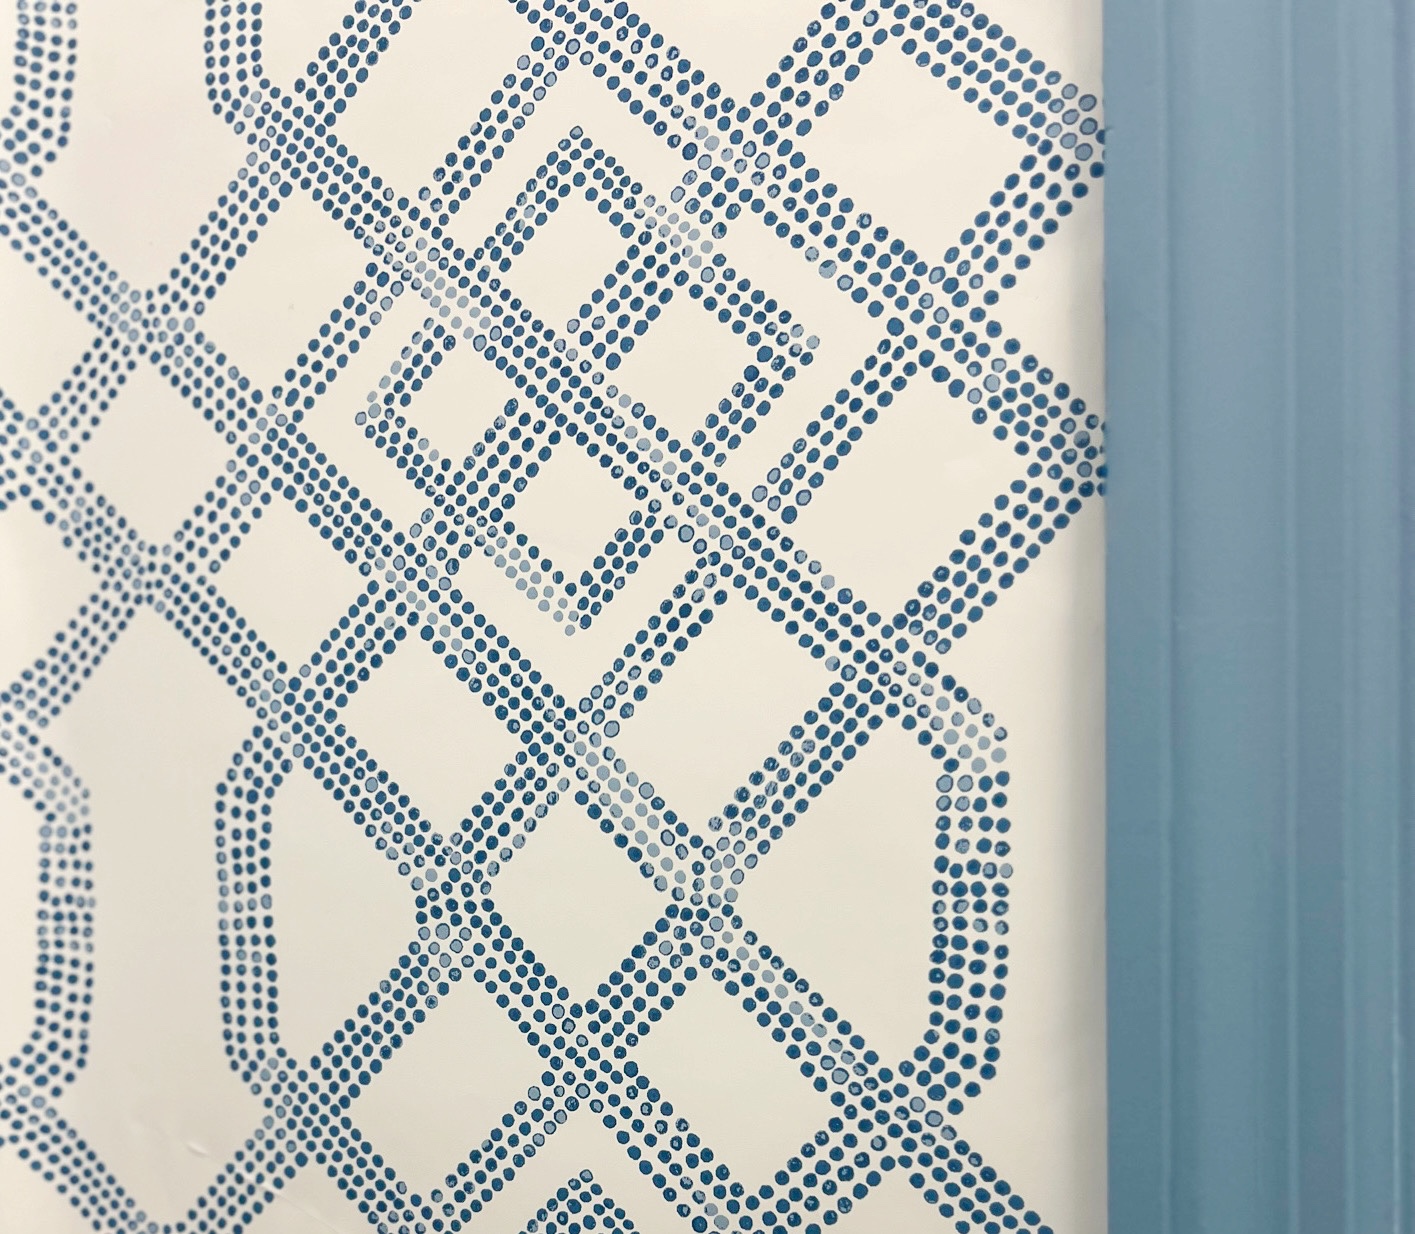
I went with a peel and stick wallpaper by NuWallpaper because I wanted something that could be removed in a few years in case I need this bedroom closet for an actual closet again.
While I have not yet installed the wallpaper, I have tested out how it will look in the space and as you can see from the photo – it is going to match the paint beautifully!
Stay tuned for Part 2 and the Final Reveal of my Mini Office Makeover! I can’t wait to get this project finished and to be writing to you from my desk in my new work space!
XX,
Ruthie